Camera Angle Geometry: Jawline Definition, Bone Structure, and Light Shaping in Editorial Photography
“A camera lens sees in two dimensions. It is the model’s responsibility to articulate planes, facets, and shadow traps with the precision of a master sculptor.” — Atharva Sharma // Ref: ATH-26-12
I. The Three-Dimensional Face in a Two-Dimensional Medium
When you stand before a 50-megapixel medium-format camera in an editorial studio, the sensor records light reflections across the topography of your face. What bookers and creative directors praise as “photogenic bone structure” is in truth a disciplined understanding of lighting physics, head angles, and muscle tension.
A strong jawline and high cheekbones mean little if turned squarely into a flat on-axis ring flash. Conversely, an editorial model who understands the interplay between key lights, fill baffles, and rim kickers can carve dramatic sculptural depth out of even subtle bone structures.
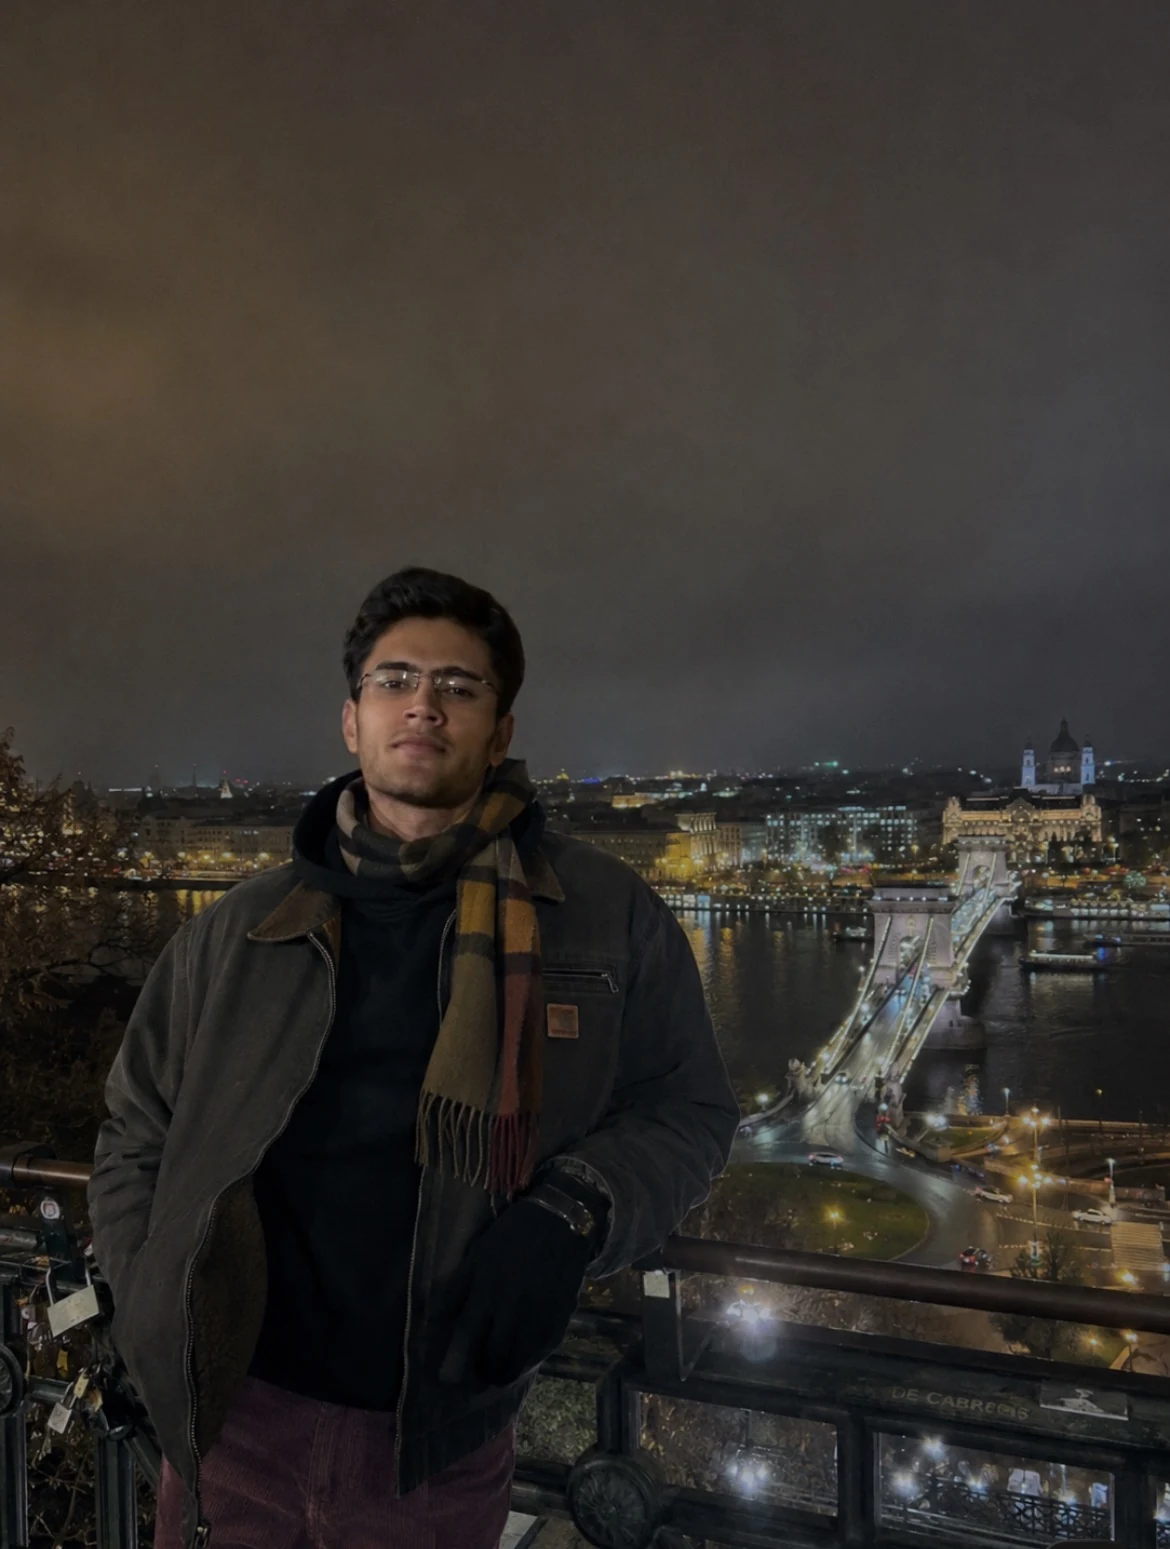
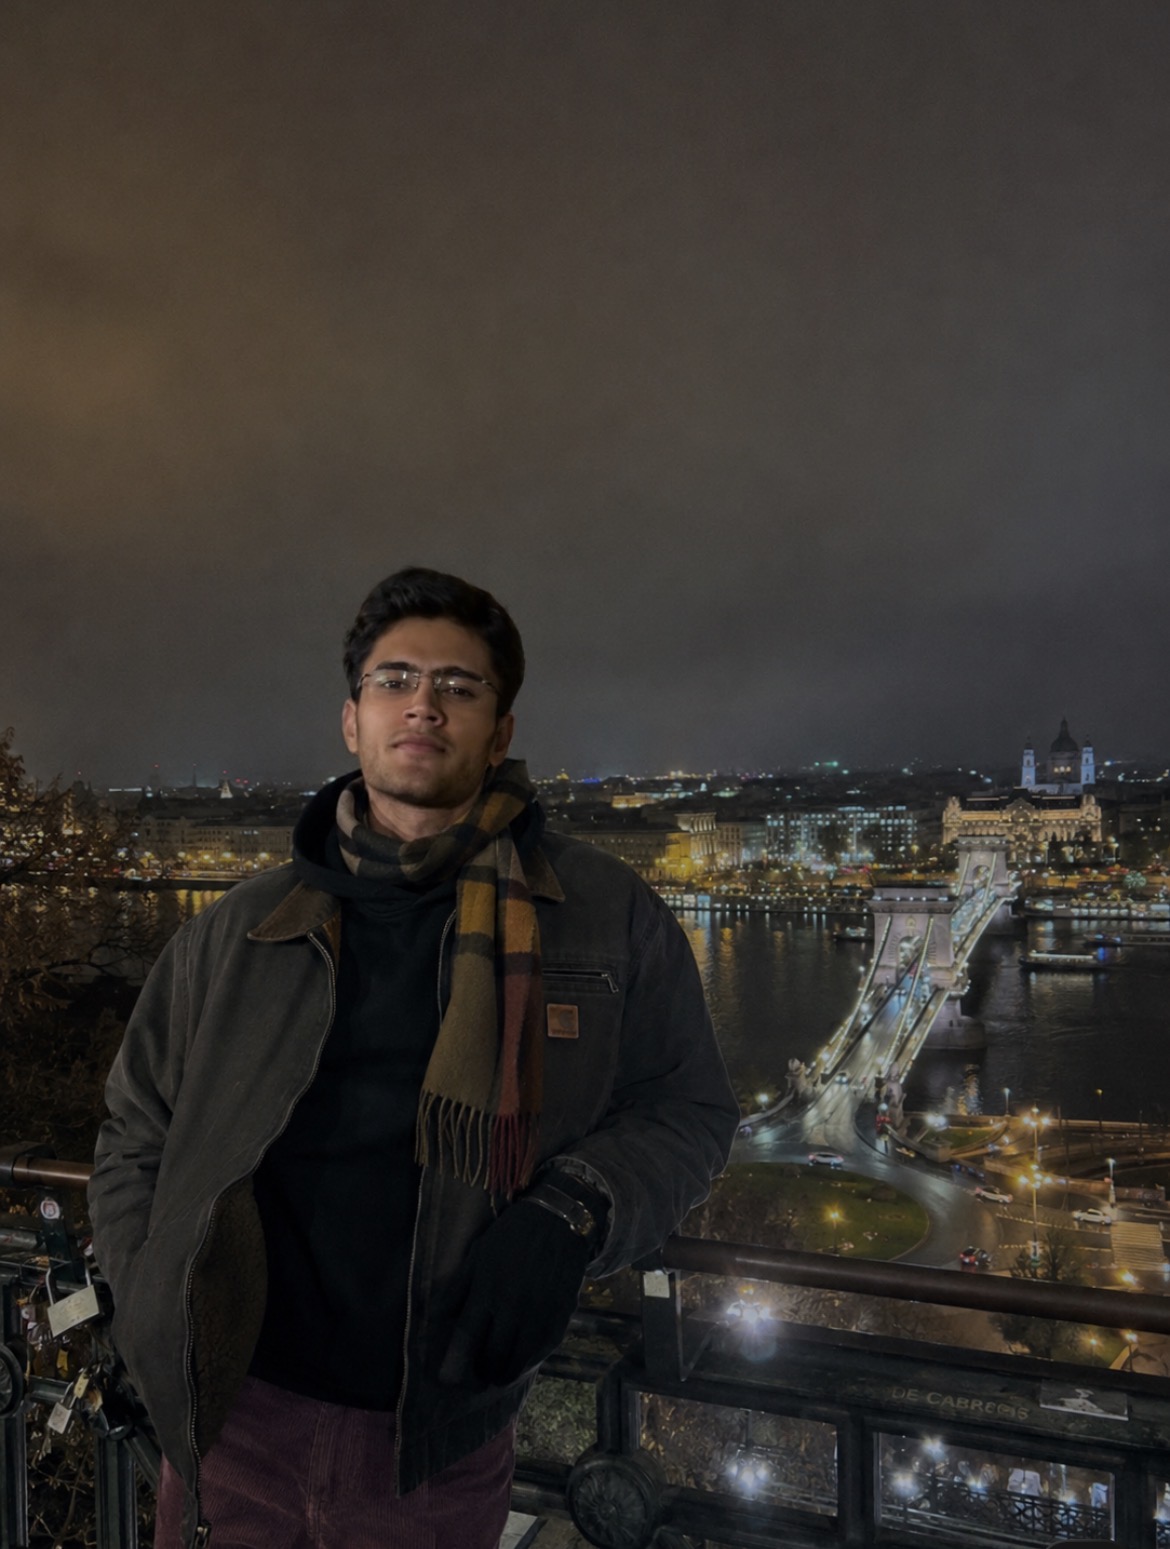
Observe the chiaroscuro interplay and high-contrast shadow rendering in assets/images/atharva-citynight-scarf.jpg, where urban ambient backlight sculpts the mandibular profile against deep velvet shadows.
II. Micro-Adjustments That Define the Mandibular Line
The mandibular angle (the sharp corner of the lower jaw below the ear) is a primary focal point in menswear campaigns:
-
The Forward & Down Thrust (The Turtle Technique):
- Push the forehead slightly forward toward the lens and drop the chin by one centimeter.
- This elongates the sternocleidomastoid muscle, pulling any loose skin under the chin taut and eliminating double-chin shadows even under harsh overhead overhead butterfly lighting.
-
The Tongue Press:
- Press the entire blade of the tongue against the roof of the mouth behind the front teeth.
- This involuntarily engages the hyoid muscles, instantly tightening the submental plane beneath the chin.
-
Ear-to-Shoulder Separation:
- Never scrunch the shoulders upward to shorten the neck. Actively drop both clavicles, creating a clean vertical column from jaw to collarbone.
III. Interacting with Classic Lighting Setups
Great models listen to where the photographer places the lights:
- Rembrandt Lighting (45° High Key): Turn your face 30 degrees away from the light source until a distinct triangle of illumination appears on the shadowed cheek beneath the eye. Maintain this angle across micro-movements.
- Split Lighting (Profile Chiaroscuro): Angle the face exactly perpendicular to the key light. Half the face disappears into black void while the nose bridge, brow ridge, and lips are traced in crisp white highlights.
- Butterfly Lighting (Overhead Beauty Dish): Keep the chin slightly elevated so the butterfly shadow directly under the nose remains balanced and does not eclipse the upper lip.
IV. Working with Primes: Lens Focal Length Geometry
A model must adjust their expressions depending on the lens mounted on the camera:
- 35mm & 50mm Lenses: Subject to perspective expansion. Anything closer to the lens appears magnified. Keep your chin tucked back to avoid making the nose dominate the frame.
- 85mm & 105mm Portrait Lenses: True-to-life perspective. Ideal for classic beauty campaigns and comp-card headshots.
- 135mm & 200mm Telephoto: Flattens facial features and compresses foreground and background. You can push angles more aggressively without distortion.
Visit our Digitals & Raw Polaroids Gallery to see how natural lighting reveals honest, unembellished facial architecture.
Production Spec Sheet
| Specification | Technical Camera Parameters |
|---|---|
| LIGHTING RIG | Single Profoto B10X with 3-Foot Octabox + Grid |
| CAMERA BODY & LENS | Hasselblad H6D-100c / 100mm f/2.2 HC Lens |
| FOCUS REGION | Iris of the Key-Side Eye |
| PORTFOLIO REF | Review Atharva Studio Works |
| BOOKINGS | Direct Agency Coordination via Contact Form |